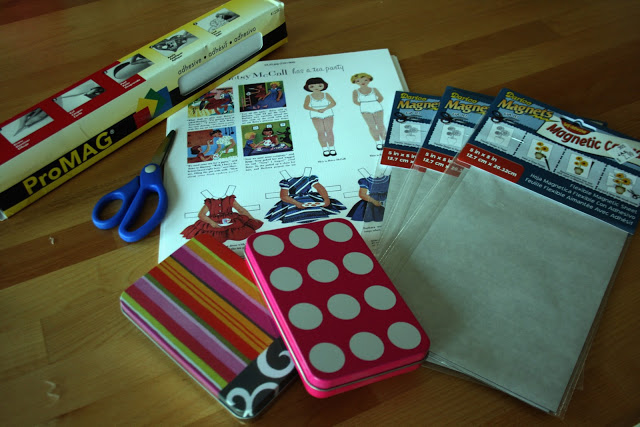
Here's what you'll need:
- Betsey McCall paper dolls printed from here. When I clicked on the file, I had to zoom in in order for the page to be full size on the printed paper.
- Small metal box to store the dolls. I picked up a couple gift card holders from Michael's (found right by the cash registers), but there were also some plain silver boxes similar in size in the back. They were a bit deeper than these ones, so if you're really into cutting things out, you may want to go with that option :)
- Adhesive magnetic paper. I found the 1'x2' roll at Michaels. The smaller sheets came from JoAnn's.
- Scissors
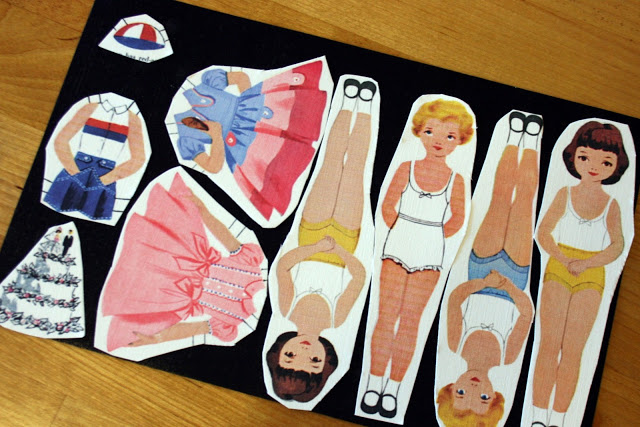
Step 1: Cut out your dolls and outfits. Since your set will be magnetic, you will not need the tabs.
Step 2: Peel backing off adhesive magnetic sheet and arrange dolls and dresses.
Step 3: Cut out your shapes.
Step 4: Repeat.

Easy, peasy- no?
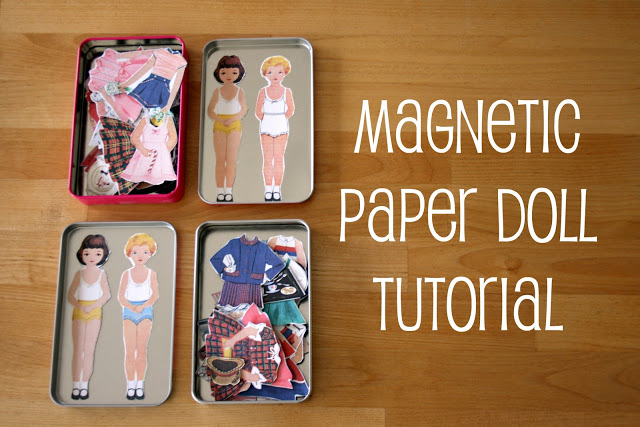
When you have the dolls and dresses you want, you can store them in your magnetic metal case. Alli from One Pearl Button made this little label to put onto her little tin:

Find more info on how to download on her blog.